How to Print and Cut Junk Journal Printables: Step-by-Step for Beginners
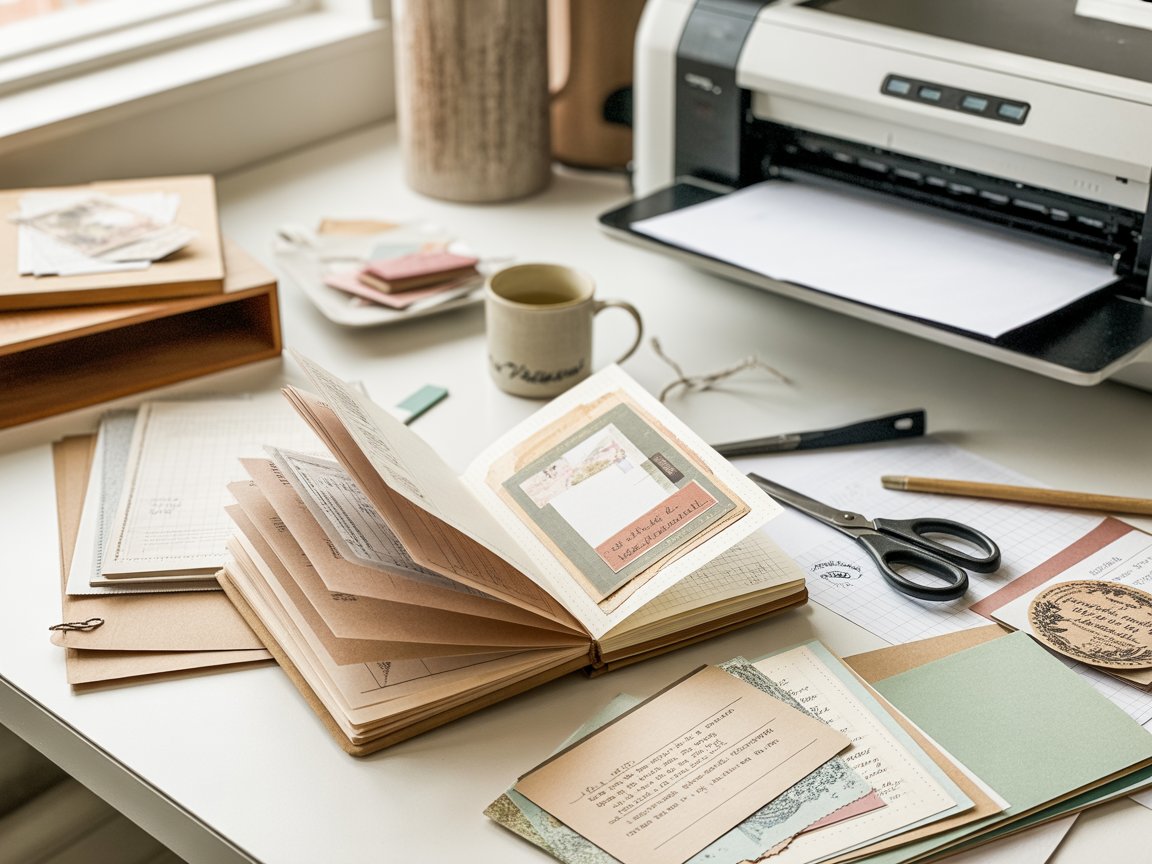
If you’ve been eyeing those gorgeous digital junk journal kits on Etsy but haven’t taken the plunge yet, you’re not alone. Many crafters download their first kit with excitement, only to feel overwhelmed when it’s time to actually print and use it. The good news? Learning how to print junk journal printables is much simpler than you think, and once you master the basics, a whole world of creative possibilities opens up.
In this guide, I’ll walk you through exactly how to use digital junk journal kits from start to finish—from choosing the right paper to achieving professional-looking results with your home printer. Whether you’re a complete beginner or you’ve had a few frustrating printing experiences, this step-by-step tutorial will help you transform those digital files into beautiful, tactile elements for your journals.
Contents
What You’ll Need
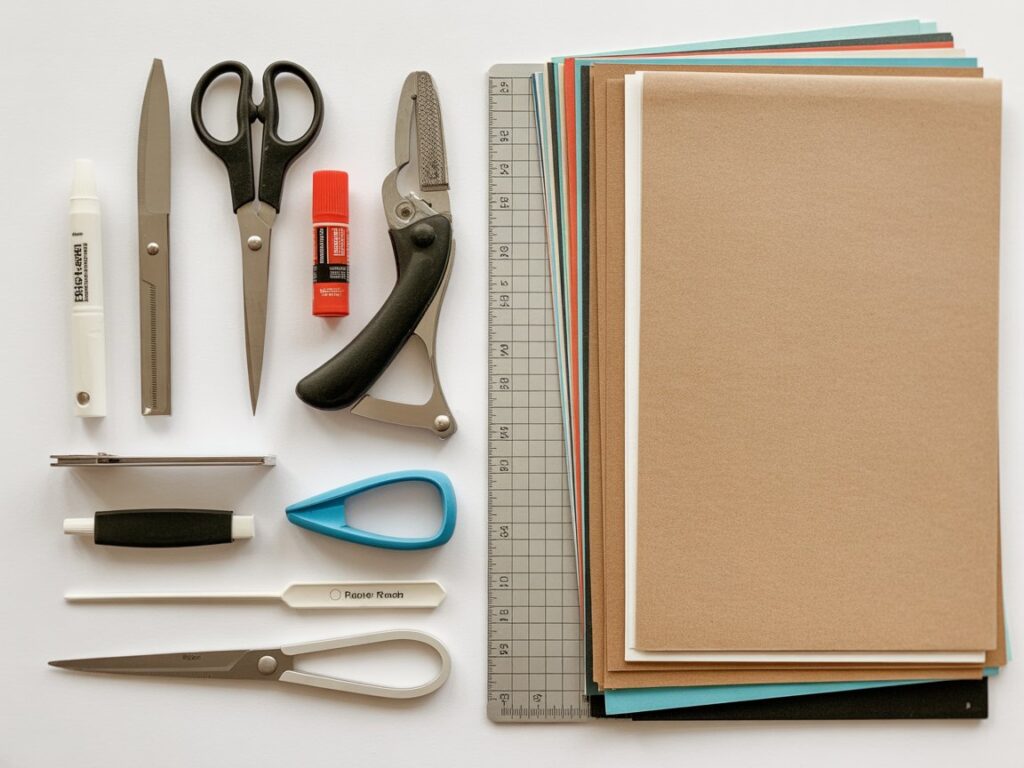
Before we dive into the printing process, let’s gather your supplies. The beauty of digital junk journaling is that you don’t need expensive equipment to get started. Here’s what you’ll need for your first printing session:
Essential Tools:
- A home printer (inkjet or laser—we’ll discuss the differences shortly)
- Scissors or a craft knife
- A paper trimmer or ruler with a cutting edge
- Glue stick or double-sided tape
- Cardstock or printer paper in various weights
Optional but Helpful:
- Corner rounder punch for polished edges
- Bone folder for crisp creases
- Self-healing cutting mat
- Decorative edge scissors for vintage looks
- Washi tape for quick adhering
You probably already own most of these items, which means you can start printing junk journal printables today without a shopping trip. As you develop your style and preferences, you can always invest in specialized tools, but these basics will serve you beautifully as you learn.
Choosing the Right Paper
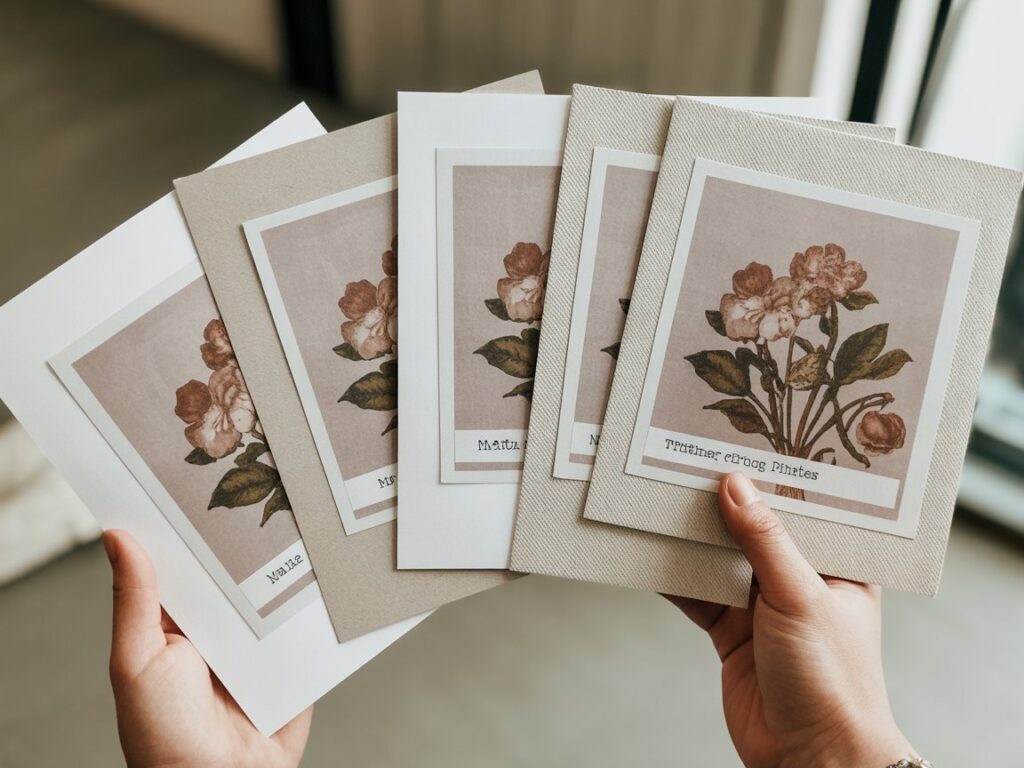
The paper you select dramatically affects how your finished printables look and feel. This is where many beginners make mistakes that lead to disappointing results, so let’s break down your options.
Paper Weight Matters: Standard printer paper (20 lb or 75 gsm) works fine for layering pieces and ephemera that you’ll glue into your journal. However, for sturdier elements like pockets, tags, and cards, reach for cardstock in the 65-80 lb range (176-216 gsm). This heavier weight prevents show-through and gives your elements a more substantial, vintage feel.
For journal pages themselves, consider 32 lb (120 gsm) paper as a sweet spot—thick enough to feel quality but not so heavy that your journal becomes bulky.
Matte vs. Glossy: When learning how to use digital junk journal kits, your finish choice significantly impacts the vintage aesthetic most junk journalers love. Matte paper is almost always the better choice for junk journaling. It accepts writing beautifully, doesn’t show fingerprints, and has that soft, aged look that complements vintage designs perfectly.
Glossy paper can look too modern and slick for most junk journal aesthetics. The shiny finish also resists many adhesives and makes writing difficult. Save glossy paper for photo prints—stick with matte for your printables.
Texture Adds Character: Once you’re comfortable with basic printing, experiment with textured papers. Linen, felt, or slightly rough finishes add depth and interest to your printables. Many craft stores sell affordable textured cardstock packs that work beautifully with junk journal designs. Just ensure your printer can handle the thickness—check your printer’s manual for maximum paper weight specifications.
Printer Settings for the Best Results
This section might seem technical, but getting your printer settings right makes the difference between “meh” results and prints that look professionally produced. Let’s optimize your settings for gorgeous printables every time.
Resolution—Your Quality Foundation: Always print at the highest quality setting your printer offers, ideally 300 DPI (dots per inch) or higher. In your print dialog box, look for options like “Best,” “High Quality,” or “Maximum DPI.” Yes, this uses more ink and takes slightly longer, but the crisp details and rich colors are worth it. When you’re printing junk journal printables with vintage designs, fine details like distressed edges and small text need that high resolution to shine.
Color Management: This is where many beginners struggle. Digital colors on your screen won’t always match what your printer produces, but you can get close with proper color management. In your printer settings, select “Color” rather than “Grayscale” (obviously), but also look for options like “Photo” or “Vivid” color mode.
For the most accurate colors, choose “ColorSync” or “ICM” color management if your printer offers it. If your prints come out too dark or too saturated, adjust the brightness or color intensity settings. Many printers let you preview before printing—use this feature to save paper and ink while you dial in your perfect settings.
Borderless Printing: Many junk journal printables are designed to print edge-to-edge. Enable borderless printing in your settings if you want the design to extend to the paper’s edge. Not all printers support this feature, and it does use more ink, but it gives you a polished, professional look without white margins.
If your printer doesn’t support borderless printing, don’t worry. You can simply trim off the white borders after printing—just add an extra minute or two to your cutting time.
Paper Type Selection: This setting tells your printer what kind of paper you’ve loaded, which adjusts how much ink it lays down. If you’re using standard printer paper, select “Plain Paper.” For cardstock, choose “Heavy” or “Cardstock.” For specialty papers, select “Matte” or the closest match. Using the wrong setting can result in smudging, poor ink absorption, or colors that look washed out.
Cutting and Trimming Your Pages
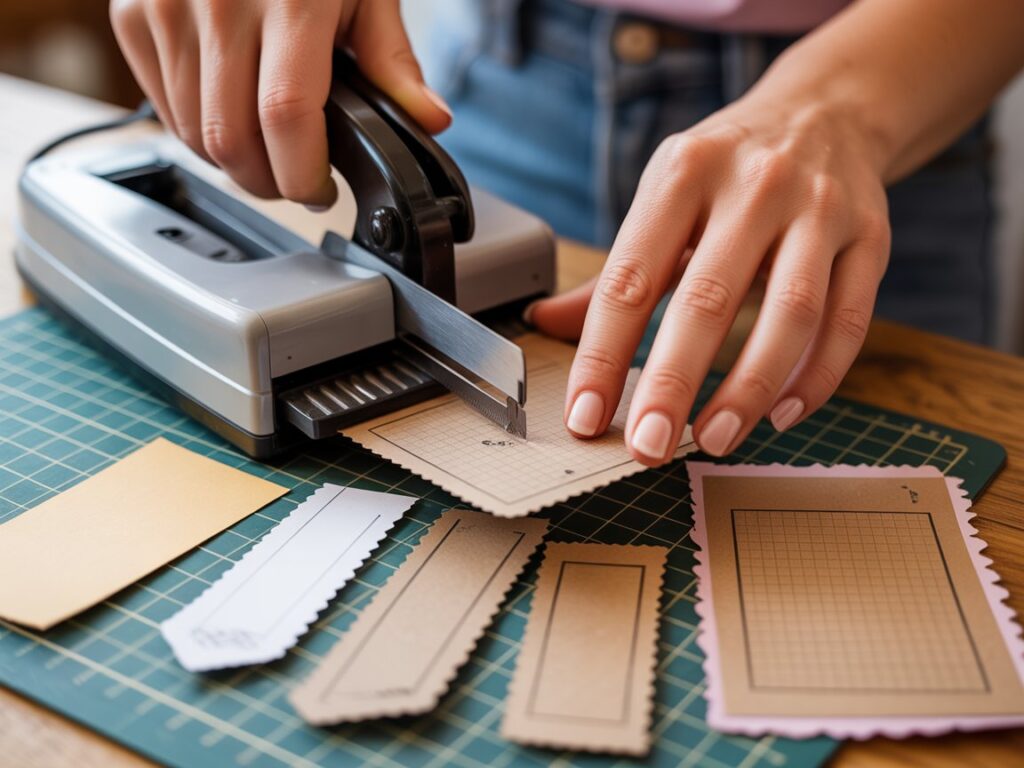
Once your printables emerge from the printer, the cutting stage brings them to life. How you cut your pieces significantly impacts the final aesthetic of your junk journal.
The Straight Edge Approach: For clean, modern looks or when precision matters (like creating pockets or envelopes), use a paper trimmer or a ruler with a craft knife. A paper trimmer is an excellent investment for anyone serious about printing junk journal printables regularly—it ensures perfectly straight cuts every time and works much faster than scissors for straight lines.
When using a craft knife, always cut on a self-healing mat and use a metal ruler as your guide. Make multiple light passes rather than trying to cut through in one stroke. This gives you more control and prevents the blade from wandering.
Embracing the Deckled Edge: For that authentic vintage look, consider creating deckled or torn edges on some elements. You can tear paper by hand for organic, irregular edges, or use a ruler to guide your tear for a straighter (but still rough) edge. Fold the paper first where you want to tear, crease it firmly with a bone folder or your fingernail, then tear along the crease.
Some crafters gently distress their edges with sandpaper or a distressing tool after cutting. This softens the bright white edge of freshly cut paper and adds to the aged, found-object aesthetic that makes junk journaling so appealing.
Cutting Tips for Beginners:
- Cut slightly outside your trim lines first, then make your final precision cut. This two-step approach prevents mistakes.
- Keep your scissors or blade sharp—dull tools create ragged edges and can tear your paper.
- For intricate cuts, work slowly. Speed comes with practice.
- If you’re cutting multiple copies of the same element, stack several sheets and cut them together to save time.
Round your corners with a corner punch for a softer, more vintage look on cards and tags. This small detail makes your printables look more polished and professional.
Layering and Assembling Your Printables
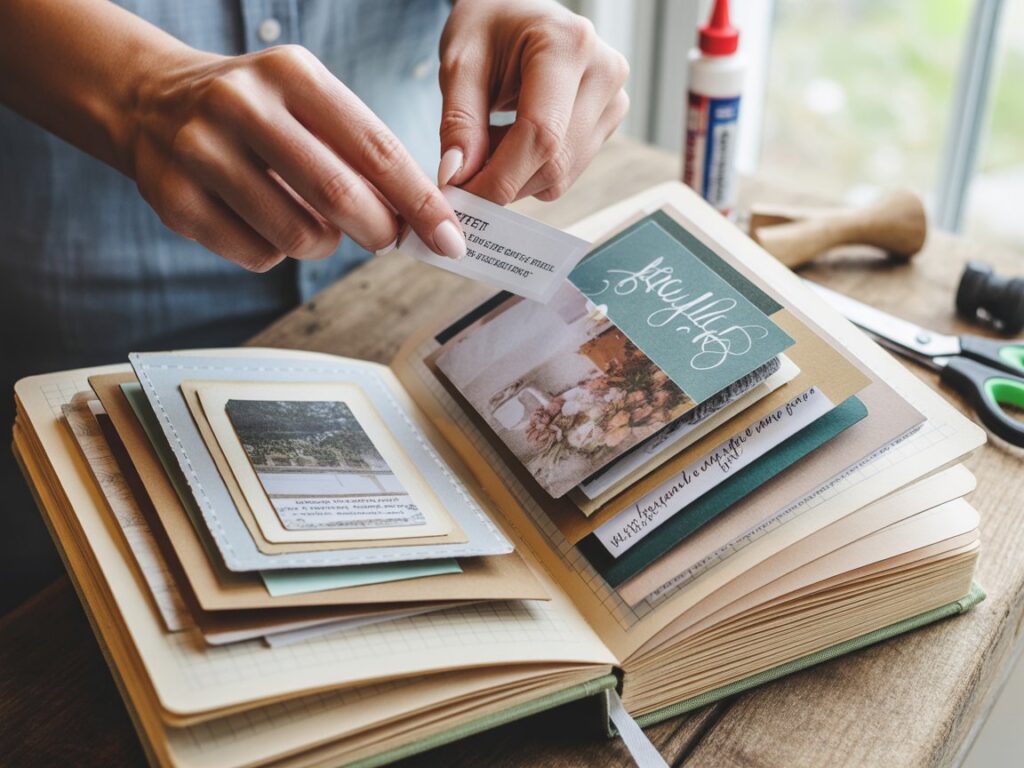
Now comes the fun part—bringing your printed elements together to create dimensional, interesting journal pages. This is where learning how to use digital junk journal kits really pays off, as you discover your personal style and creative voice.
Start with Your Base: Begin with your largest printed element as your foundation. This might be a full journal page, a background paper, or a pocket. Secure it to your journal page with your preferred adhesive—glue sticks work well for full-page elements, while double-sided tape gives you precision for smaller pieces.
Build Up Layers: The magic of junk journaling happens when you layer multiple elements. Add tags peeking out from pockets, tuck ephemera under photo corners, overlap papers at interesting angles. Don’t be afraid to let pieces extend beyond your page edges—you can always trim them later, or leave them for an organic, overflowing look.
When layering, use foam adhesive dots or folded tape to create different heights. This dimensional approach makes your pages more interesting and tactile. Not every element needs to be flat—some pieces can lift away from the page, creating shadows and depth.
Balance and Composition: Think about visual weight as you arrange your elements. Balance busy, colorful pieces with simpler, neutral elements. Leave some breathing room—white space or simpler areas help the eye rest and make your focal points stand out.
Odd numbers tend to look more pleasing than even numbers when clustering elements. Try grouping three tags together rather than two or four. Overlap elements rather than placing them side-by-side for a more cohesive, collected look.
Adding the Finishing Touches: Once your main elements are placed, consider adding hand-drawn details, stamping, or machine stitching around elements. These personal touches blend your printed elements with your own creative mark, making each page uniquely yours. Write dates, jot notes, or add doodles to make the page more personal and less “printed.”
Practice with the Free Kit
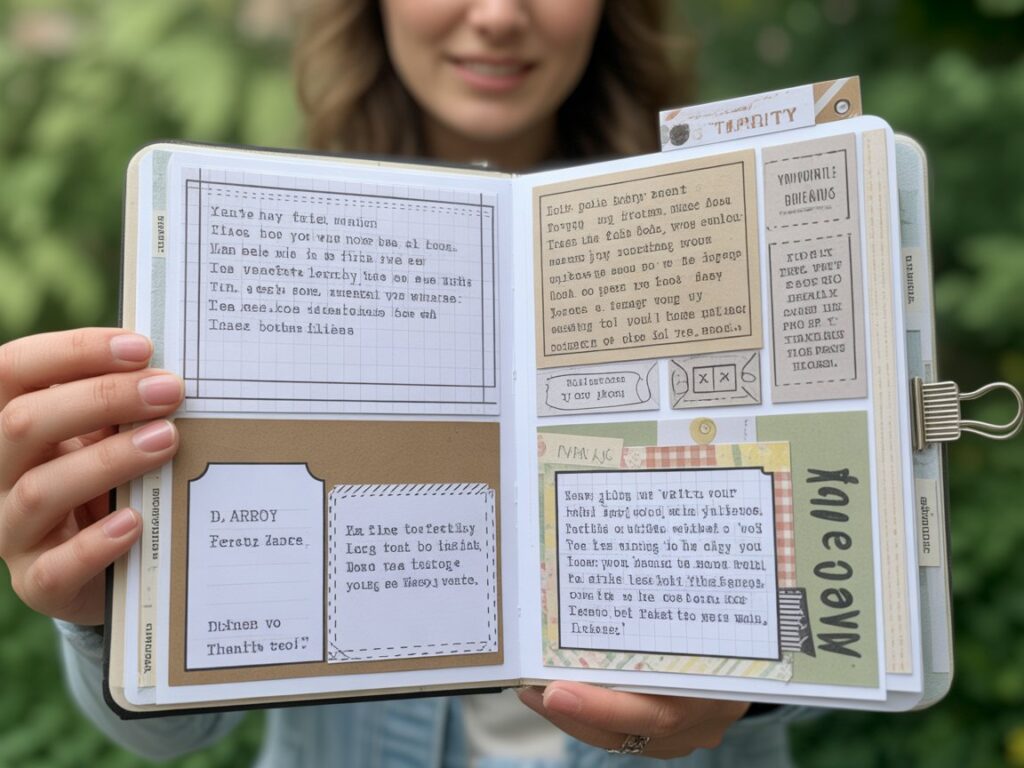
The best way to master these techniques is simply to start printing. I’ve created a free beginner-friendly starter kit specifically designed to help you practice these skills. It includes a variety of elements—journal cards, tags, ephemera, and pockets—all in coordinating vintage designs.
Download your free printable kit to follow along with this tutorial and experiment with different papers, cutting techniques, and layering approaches. Consider this your playground for learning. Print elements multiple times, try different paper weights, and practice both straight and deckled edges. The more you print and create, the more confident you’ll become.
Start with just one or two elements rather than printing everything at once. Get comfortable with the printing and cutting process, then gradually add more complex techniques as your confidence grows. There’s no rush—junk journaling should be relaxing and enjoyable, not stressful.
Your Printing Journey Starts Now
Learning how to print junk journal printables opens up endless creative possibilities. Those beautiful digital kits you’ve been admiring can now become tangible elements in your journals, scrapbooks, and mixed media projects. Remember, every experienced junk journaler started exactly where you are now—with that first somewhat uncertain print job.
Don’t expect perfection immediately. Your first prints might not turn out exactly as you envisioned, and that’s completely normal. Each printing session teaches you something new about your printer, your paper preferences, and your personal style. Embrace the learning process, and soon you’ll be printing confidently and creating stunning journal pages that feel authentically you.
Now grab that free starter kit, load some paper in your printer, and bring those digital designs into the physical world. Your junk journaling adventure is just beginning, and I can’t wait to see what you create.