Contents
- Your Gateway to Paper Paradise (And Why You’re About to Become Obsessed)
- What Actually Is a Junk Journal Kit? (Breaking Down the Basics)
- Why Beginners Should Start with a Kit (Instead of Going Rogue)
- The 7 Essential Components Every Beginner Kit Should Include
- 1. Base Papers (The Foundation of Everything)
- 2. Ephemera (The Secret Sauce)
- 3. Embellishments (Your Creative Accessories)
- 4. Washi Tape (The Gateway Drug of Paper Crafts)
- 5. Stickers (Yes, You’re an Adult Using Stickers—Own It)
- 6. Adhesives (The Unsung Heroes)
- 7. Basic Tools (Sometimes Included, Sometimes Not)
- Physical vs. Digital: Which Junk Journal Kit Type Is Right for You?
- Understanding Themes: Finding Your Aesthetic Lane
- The Budget Breakdown: What Should You Actually Spend?
- Where to Buy: Your Shopping Guide for Quality Kits
- Must-Ask Questions Before Buying Any Kit
- Special Considerations: Niche Kits for Specific Needs
- How to Evaluate Kit Quality (Before and After Purchase)
- Building Your Kit: DIY Additions and Upgrades
- Common Beginner Mistakes (And How to Avoid Them)
- Your First Week: A Beginner’s Action Plan
- Frequently Asked Questions: Your Junk Journaling Queries Answered
- What exactly goes into a junk journal?
- Do I need expensive supplies to start junk journaling?
- What’s the difference between scrapbooking and junk journaling?
- Can I make money selling junk journal kits?
- How long does a typical junk journal kit last?
- Are digital printable kits worth it?
- What’s ephemera, and why is it important?
- Should I buy a themed kit or a general variety kit?
- The Final Word: Trust Your Creative Instincts
- Ready to Start Your Junk Journaling Journey?
Your Gateway to Paper Paradise (And Why You’re About to Become Obsessed)
Here’s the thing about junk journaling: it sneaks up on you. One minute you’re scrolling through Pinterest at 2 AM, the next you’re elbow-deep in vintage ephemera, washi tape, and kraft paper, wondering how you lived without this creative outlet. If you’ve stumbled onto this article, you’re probably standing at the threshold of what I call “the gateway craft”—that beautiful intersection where nostalgia meets creativity, where your grandmother’s aesthetic meets your need to unplug from the digital chaos.
But let’s be real. Walking into the world of junk journaling as a beginner feels like showing up to a party where everyone’s speaking a language you don’t understand. Ephemera? Collage kits? Embellishments? It sounds intimidating, but I promise you—it’s simpler than assembling IKEA furniture, and infinitely more rewarding.
I’m here to help you choose the perfect junk journal kit without overwhelming your wallet or your tiny apartment storage situation. Think of this as your insider’s guide, written by someone who’s made all the rookie mistakes so you don’t have to.
What Actually Is a Junk Journal Kit? (Breaking Down the Basics)
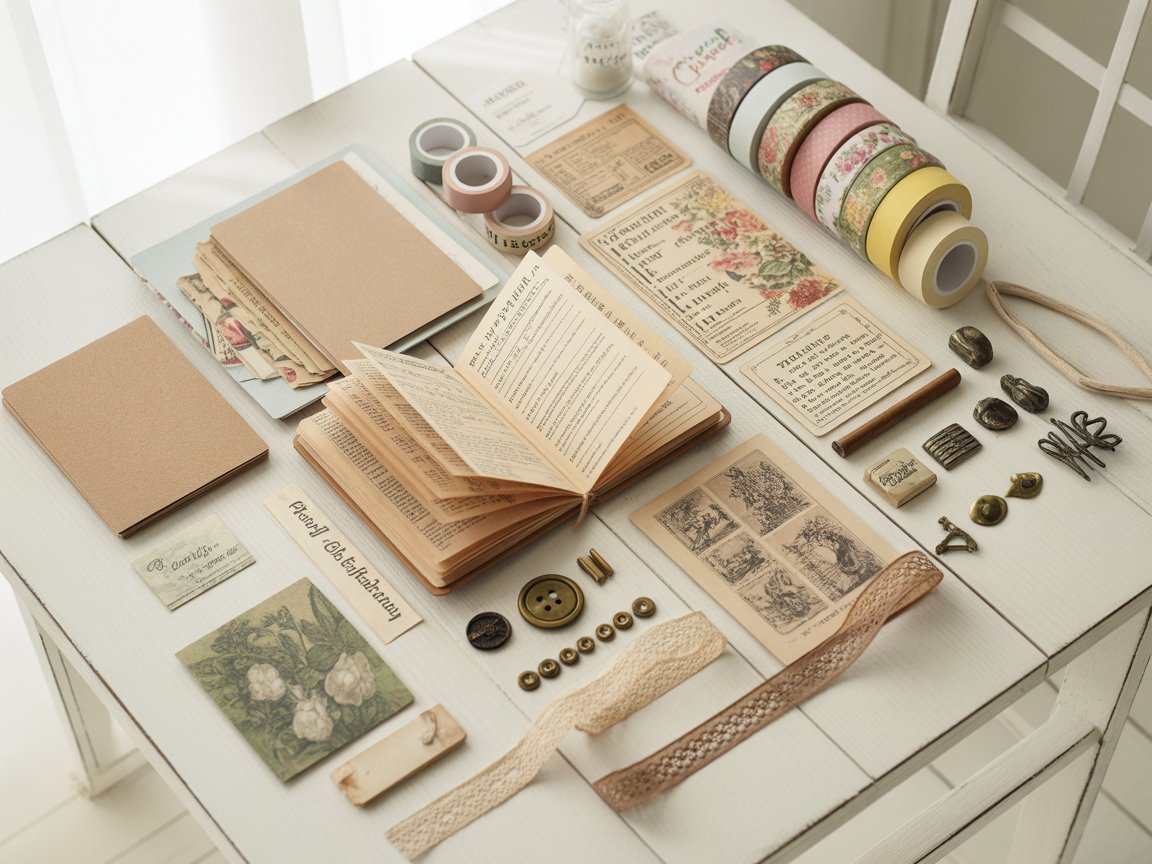
Before we dive into the selection process, let’s demystify what we’re talking about here. A junk journal kit is essentially your creative starter pack—a curated collection of junk journal supplies that typically includes papers, ephemera, embellishments, and sometimes binding materials. Think of it as the difference between buying ingredients separately versus grabbing a meal kit: everything’s already selected and coordinated for you.
These kits come in various flavors:
- Physical kits you can touch and manipulate (the tactile experience is chef’s kiss)
- Digital junk journal kits you download and print at home
- Themed kits focused on specific aesthetics like vintage, travel, or botanical
- Subscription boxes that deliver new supplies monthly
The beauty of starting with a junk journal starter kit? You’re not drowning in decision fatigue at the craft store, standing paralyzed in the washi tape aisle for forty minutes. Been there, done that, have the therapy bills.
Why Beginners Should Start with a Kit (Instead of Going Rogue)
Look, I admire your independent spirit. But hear me out on this one.
When I first discovered junk journaling, I thought I’d just “figure it out” and buy individual supplies. Three hours and $200 later at the craft store, I had seventeen types of paper I didn’t need, zero coherent aesthetic, and a partner giving me the “we need to talk about your spending” look.
Starting with a junk journaling kit offers several lifelines:
Curated cohesion. Someone with actual design sensibility has already ensured everything works together. The colors coordinate. The patterns complement each other. You’re not stuck with chartreuse washi tape that matches absolutely nothing else you own.
Cost efficiency. Buying bundled supplies typically costs 30-40% less than purchasing items individually. Your bank account will thank you.
Learning curve reducer. You’ll see what types of junk journal embellishments actually get used versus what looked cute but now live in your craft drawer of shame.
Instant gratification. Everything you need arrives in one package. You can start creating the same day instead of making multiple trips to different stores.
Trust me on this: kits are training wheels you’ll actually appreciate.
The 7 Essential Components Every Beginner Kit Should Include
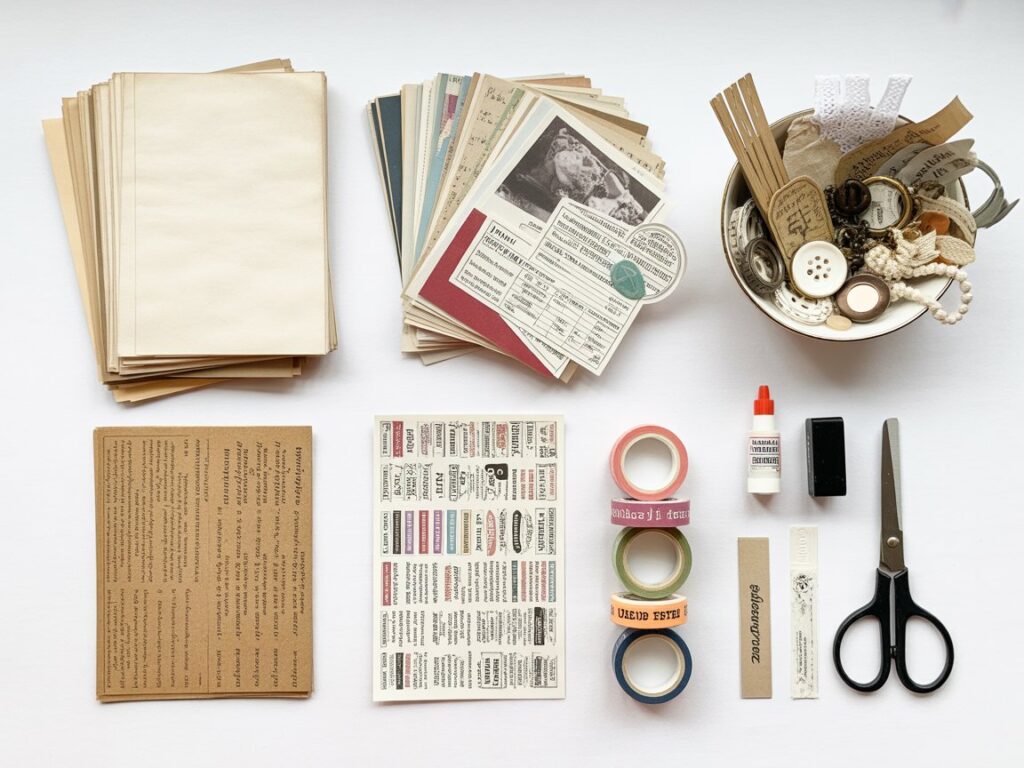
Not all junk journal kits are created equal. Some are gorgeously comprehensive; others are basically a napkin and some stickers someone’s trying to charge you $40 for. Here’s what your starter kit needs to actually be useful:
1. Base Papers (The Foundation of Everything)
You need variety here—different textures, weights, and colors. Look for kits that include:
- Vintage-looking book pages
- Music sheets (fake or authentic)
- Dictionary or newspaper pages
- Kraft paper sheets
- Decorative scrapbook papers
A decent junk journal paper kit should give you at least 50-100 sheets. Yes, it sounds like a lot. No, you won’t have leftovers. This stuff disappears faster than good chocolate.
2. Ephemera (The Secret Sauce)
This is where junk journaling gets its soul. Ephemera refers to printed materials originally designed to be temporary—think ticket stubs, postcards, labels, or vintage advertisements. A quality junk journal ephemera kit should include:
- Vintage-style postcards
- Tags and labels
- Tickets and admissions
- Receipts and ledger papers
- Botanical prints or illustrations
Pro tip: Authentic vintage ephemera is cool, but reproductions work just as beautifully and cost significantly less.
3. Embellishments (Your Creative Accessories)
Think of these as the jewelry of your journal. Your junk journal embellishments might include:
- Lace trim
- Ribbon scraps
- Buttons
- Metal charms
- Fabric patches
- Paper clips (decorative ones, not the boring office supply variety)
4. Washi Tape (The Gateway Drug of Paper Crafts)
I cannot overstate the importance of good washi tape. A solid junk journal washi tape kit introduces you to this magical, repositionable, low-commitment way to add color and pattern. You’ll want at least 5-10 rolls in coordinating designs.
5. Stickers (Yes, You’re an Adult Using Stickers—Own It)
Modern junk journal stickers have evolved way beyond your childhood Lisa Frank collection. Look for:
- Alphabet and number sets
- Vintage-style imagery
- Decorative frames and borders
- Themed graphics that match your aesthetic
6. Adhesives (The Unsung Heroes)
Your kit should clarify what’s included for actually attaching things. Quality options:
- Glue sticks (acid-free)
- Double-sided tape
- Washi tape (pulls double duty)
- Mod Podge or similar sealant
7. Basic Tools (Sometimes Included, Sometimes Not)
Premium kits might throw in:
- Scissors (decorative edge optional)
- Bone folder for crisp creases
- Hole punch
- Eyelet setter
Physical vs. Digital: Which Junk Journal Kit Type Is Right for You?
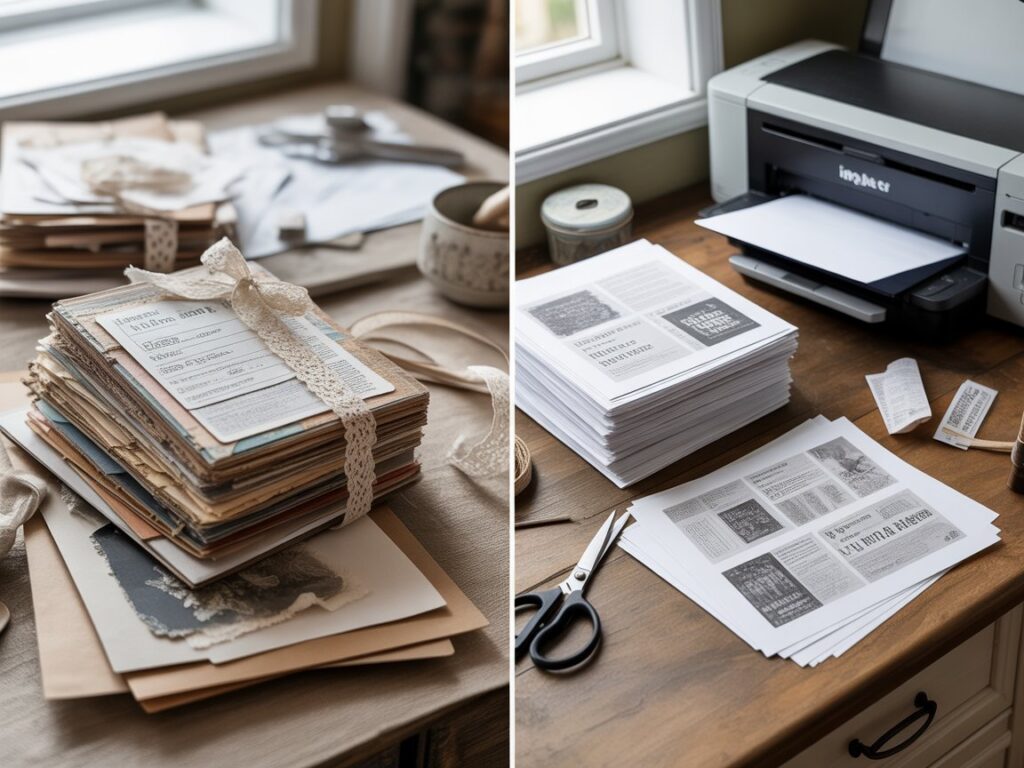
This is the Mac versus PC debate of the junk journaling world, and people have feelings about it.
Physical Kits: The Tactile Experience
Pros:
- Immediate satisfaction—tear open the package and create
- No printer required (or printer that’s out of magenta, or printer that’s possessed)
- Authentic textures and materials
- Perfect if you love the sensory experience of paper crafts
Cons:
- Higher upfront cost (typically $25-60 for starter kits)
- Shipping time and costs
- Takes up physical storage space
- Once you use it, it’s gone
Best for: Tactile learners, people who want instant gratification, and anyone whose printer has betrayed them one too many times.
Digital Junk Journal Kits: The Modern Approach
Pros:
- Usually cheaper ($5-20 for a comprehensive printable junk journal kit)
- Instant download—start creating in minutes
- Print unlimited copies
- Easy to store (just digital files)
- Customize colors and sizes before printing
Cons:
- Requires printer, ink, and paper investment
- Printing costs add up
- Time-consuming to print large kits
- Less authentic texture than pre-made items
Best for: Budget-conscious creators, people who like customization options, and anyone with a reliable printer and time to print.
My Take?
Start with a physical junk journal starter kit to learn the ropes and discover your style. Once you know what you actually use and love, supplement with digital junk journal kits for budget-friendly variety. It’s not either/or—it’s both/and.
Understanding Themes: Finding Your Aesthetic Lane
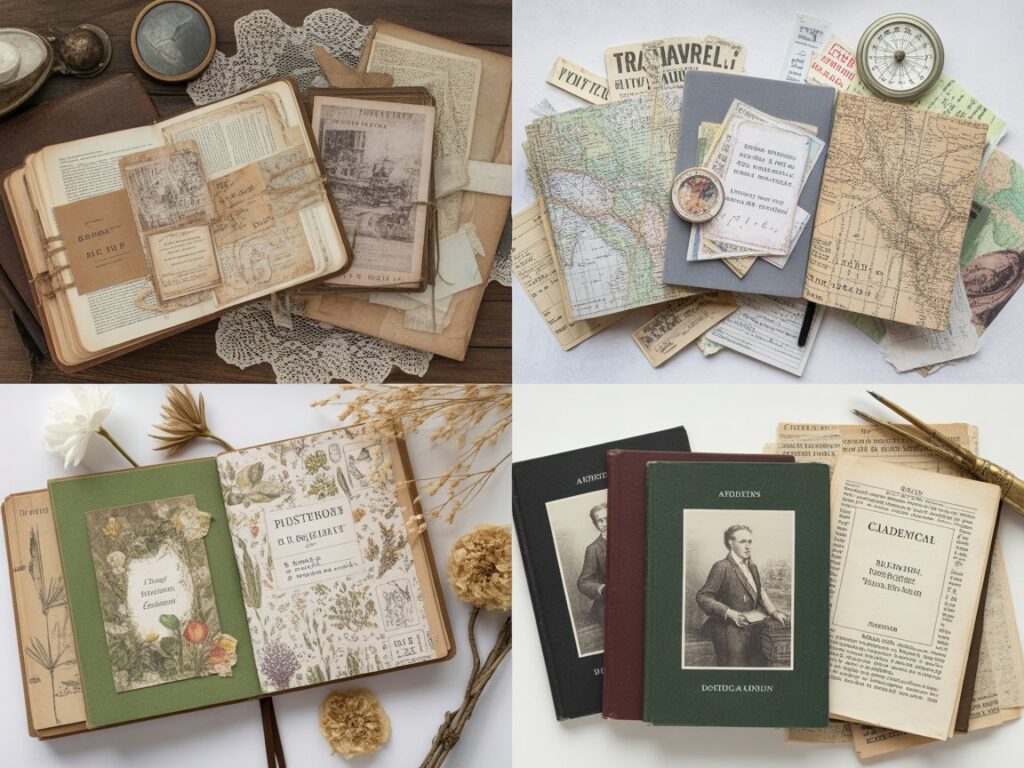
Junk journal kits come in more flavors than your local artisanal ice cream shop. The theme you choose affects everything from color palette to embellishment style.
Popular Theme Categories:
Vintage/Nostalgic Perfect for old-soul romantics. Vintage junk journal kits feature sepia tones, Victorian-era imagery, antique ephemera, and that dreamy “found in grandmother’s attic” vibe. These kits typically include aged papers, vintage postcards, and classic embellishments like lace and buttons.
Travel/Adventure: Ideal for wanderlust sufferers and armchair travelers. Junk journal travel kits incorporate maps, passport-style elements, tickets, stamps, and globe imagery. These are usually compact and portable, too.
Botanical/Nature For plant parents and nature lovers. Think pressed flowers (or realistic prints), botanical illustrations, earthy color palettes, and organic textures.
Romantic/Shabby Chic Soft pinks, florals, delicate patterns, and feminine touches. These kits often include ribbon, lace, and romantic imagery.
Dark Academia: The moody cousin of vintage. Think library aesthetics, classical art, muted colors, and intellectual ephemera like dictionary pages and scientific illustrations.
Minimalist/Modern: Clean lines, neutral colors, simple designs. Less is more, but still creative.
How to Choose Your Theme:
Ask yourself:
- What’s your Instagram aesthetic?
- What era fascinates you most?
- What’s your decorating style?
- What makes you feel nostalgic or inspired?
Your answers will point you toward your perfect junk journal theme kit.
The Budget Breakdown: What Should You Actually Spend?
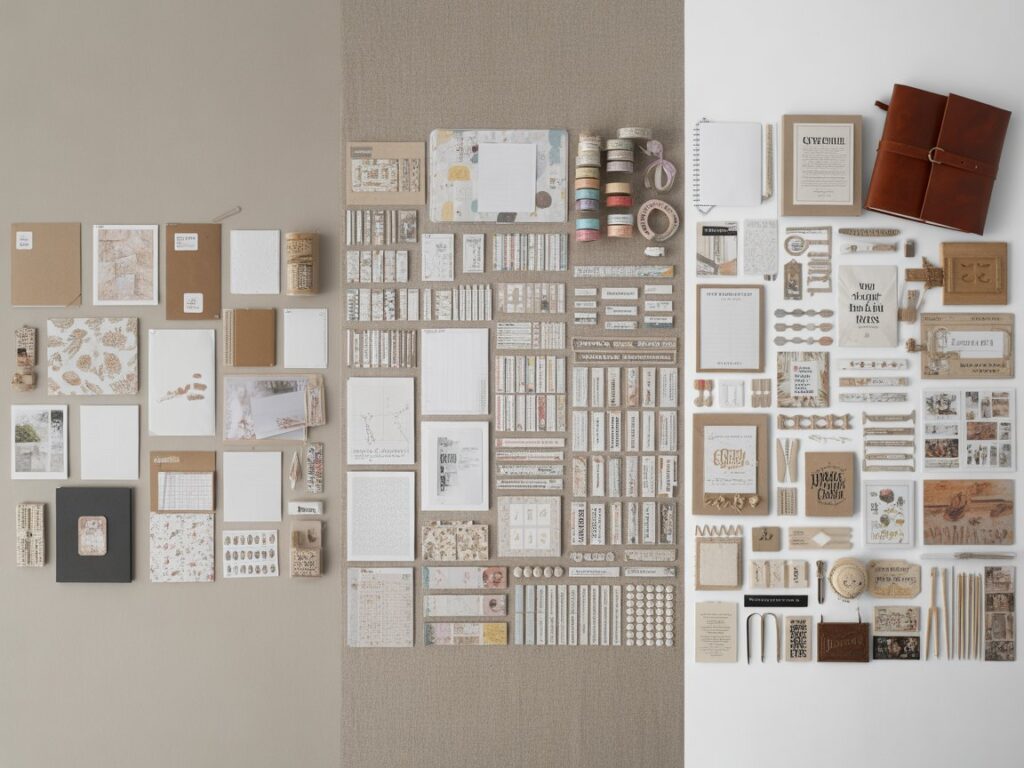
Let’s talk money, because pretending craft supplies are free is how you end up eating ramen for two weeks.
Budget Tier ($15-30)
What you get: Basic junk journal supplies in smaller quantities. Probably 30-50 pieces total. Adequate for testing the waters.
Best for: Absolute beginners who aren’t sure if junk journaling is their thing yet.
Recommended kits: Simple starter packs, basic paper collections, small ephemera bundles.
Mid-Range Tier ($30-60)
What you get: Comprehensive kits with 100-200+ pieces. Good variety of papers, ephemera, embellishments, and usually some washi tape or stickers. This is the sweet spot.
Best for: Committed beginners ready to dive in properly.
Recommended kits: Full junk journaling kits from Etsy shops, themed bundles, and quality starter sets.
Premium Tier ($60-150+)
What you get: Extensive collections, authentic vintage materials, leather journals, professional-grade supplies, potentially hundreds of pieces.
Best for: Serious hobbyists, people who know their aesthetic, and gift-givers.
Recommended kits: Curated vintage collections, junk journal leather kits, comprehensive themed sets, junk journal bundle options with journals included.
My Recommendation?
Start in the mid-range tier. It’s enough to properly explore the craft without the commitment anxiety of dropping $100+ on something that might end up in your closet next to that bread maker you used twice.
| Budget Level | Price Range | Average Pieces | Best For | What’s Included |
|---|---|---|---|---|
| Entry | $15-30 | 30-50 | Testing waters | Basic papers, small ephemera pack, minimal embellishments |
| Mid-Range | $30-60 | 100-200+ | Serious beginners | Full paper variety, ephemera, embellishments, washi tape, stickers |
| Premium | $60-150+ | 300-500+ | Committed crafters | Extensive collections, authentic vintage, journals, and premium materials |
Where to Buy: Your Shopping Guide for Quality Kits

Not all marketplaces are created equal when it comes to junk journal supplies. Here’s where to hunt for your perfect kit:
Etsy: The Artisan Goldmine
Why it’s great: Handcrafted, curated collections from actual humans who love junk journaling. Shopping for a junk journal kit on Etsy means supporting small businesses and finding unique items.
What to look for:
- Seller reviews (minimum 4.5 stars with at least 50 reviews)
- Clear photos showing actual kit contents
- Detailed descriptions of what’s included
- Processing and shipping times
Watch out for: Sellers using stock photos that don’t show actual products, extremely cheap kits that look too good to be true (they are), and unclear shipping costs.
Top searches: “vintage junk journal kit Etsy,” “junk journal embellishment kit Etsy,” or “digital junk journal kit Etsy” for printables.
Amazon: The Convenient Option
Why it’s great: Fast shipping (hello, Prime), easy returns, and competitive pricing. Great for generic supplies and established brands.
What to look for:
- Detailed customer reviews with photos
- “Amazon’s Choice” or “Best Seller” badges
- Clear ingredient/content lists
- Return policies
Watch out for: Quality can be hit-or-miss. Read recent reviews carefully and check if the actual product matches the listing photos.
Specialty Craft Retailers
Stores like Michaels, Joann, and Hobby Lobby carry junk journal supplies, though complete kits are less common. Better for supplementing your kit with specific items.
Small Craft Businesses and Instagram Shops
Many junk journal artists sell curated kits through Instagram shops or personal websites. These often feature unique, artist-designed elements you won’t find elsewhere.
Must-Ask Questions Before Buying Any Kit
Before clicking “Add to Cart,” interrogate that product listing like you’re interviewing candidates for a really important job (which, let’s be honest, you are):
1. What exactly is included? Count the pieces. Ask about paper sizes. Verify if tools or adhesives are included. “Over 100 pieces!” means nothing if 95 of them are tiny sequins.
2. What’s not included? Do you need to buy a journal separately? What about adhesive? Scissors? The description should clarify this.
3. What are the actual dimensions? Paper size matters. Most junk journals use 8.5″ x 11″ or smaller pages. Verify kit materials match your intended journal size.
4. Is this a physical or digital product? Sounds obvious, but I’ve watched people accidentally order digital kits expecting physical materials. The disappointment is real.
5. What’s the color scheme? If you’re building a cohesive aesthetic, confirm the colors match your vision. “Vintage” could mean warm sepia or cool grays.
6. Can I see real customer photos? Product photos can be misleading. Customer review photos show what you actually get.
7. What’s the return/refund policy? Especially important for physical kits. Can you return if you’re unsatisfied?
8. How long until it ships? Etsy sellers, especially, may have processing times of 1-3 weeks. If you need supplies soon, check this first.
Special Considerations: Niche Kits for Specific Needs
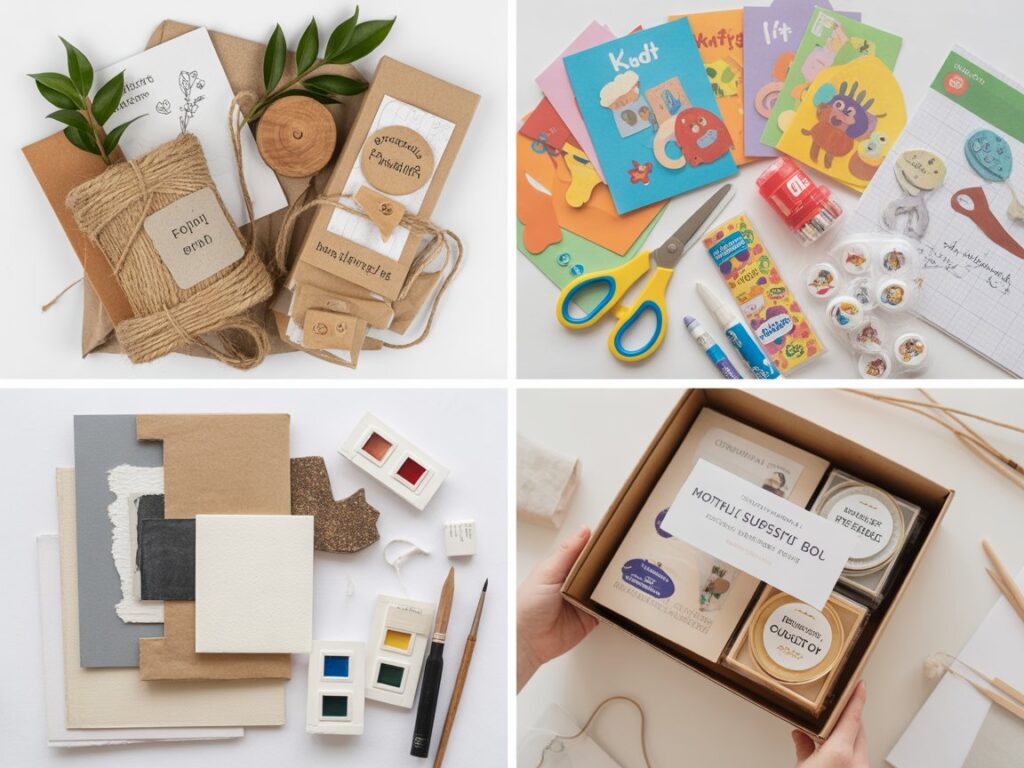
Not everyone fits the “standard beginner” mold. Here are specialized options worth considering:
Eco-Friendly Junk Journal Kits
For the environmentally conscious crafter, eco-friendly junk journal kits are used:
- Recycled papers
- Natural, biodegradable embellishments
- Non-toxic adhesives
- Sustainable packaging
These typically cost slightly more but align with green values.
Junk Journal Kits for Kids
If you’re introducing younger creators to the craft, junk journal kits for kids feature:
- Safety scissors included
- Non-toxic materials
- Simpler designs
- Bright, fun themes
- Larger pieces are easier to manipulate
Pro tip: This is an excellent screen-free activity for restless kids, and the finished journals make great keepsakes.
Junk Journal Art Kits
For people approaching this from a mixed media or art journaling angle, junk journal art kits and junk journal mixed media kits include:
- Heavier-weight papers suitable for wet media
- Textured surfaces
- More sophisticated color palettes
- Artistic ephemera and imagery
Subscription Boxes
Junk journal kit subscriptions deliver curated supplies monthly or quarterly. Benefits include:
- Continuous supply of fresh materials
- Exposure to new themes and techniques
- Often includes exclusive items
- Removes decision fatigue
Drawbacks: ongoing cost, and you can’t control themes.
How to Evaluate Kit Quality (Before and After Purchase)
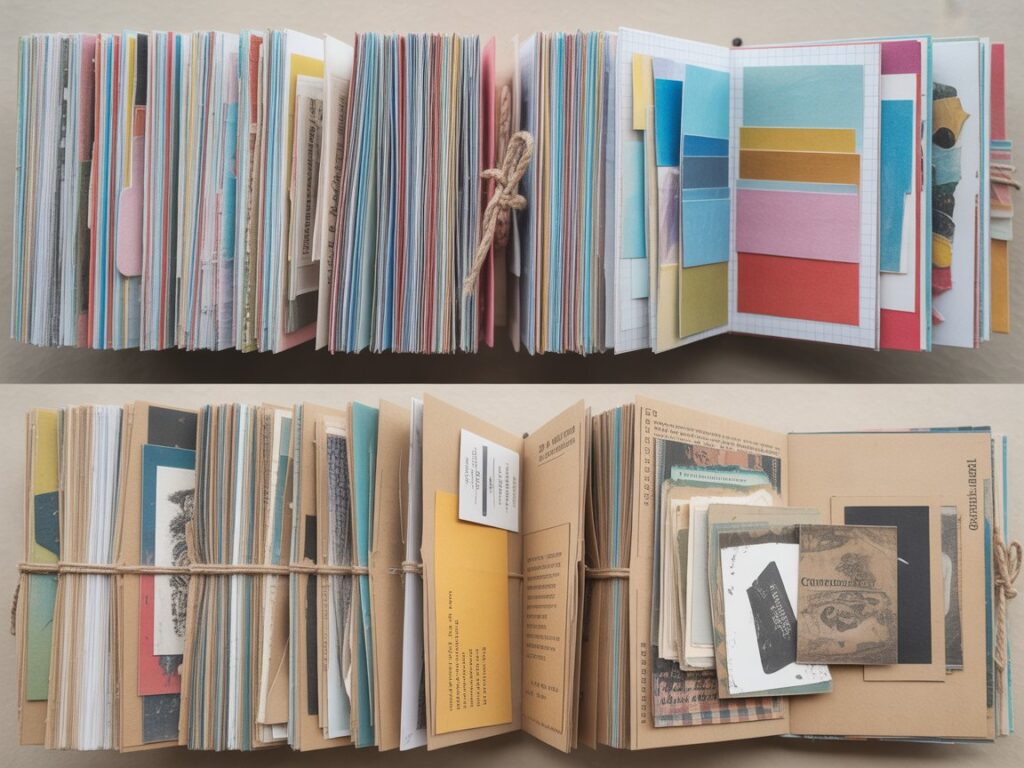
Not all kits live up to their listing photos. Here’s how to spot quality:
Pre-Purchase Red Flags:
- Vague descriptions: “Lots of pretty papers!” tells you nothing
- No measurements: Paper size and quantity should be crystal clear
- Stock photos only: No actual product photos raise suspicion
- Suspiciously low prices: A “complete kit” for $8, including shipping? Probably not great
- Poor grammar and spelling: Often indicates dropshipping or low-quality production
Post-Purchase Quality Indicators:
Good quality kits have:
- Sturdy, well-cut papers (not torn or poorly trimmed)
- Color-coordinated elements that actually work together
- Varied textures and patterns
- Durable embellishments (no flimsy, falling-apart items)
- Acid-free papers that won’t yellow quickly
- Thoughtful curation, not random scraps thrown together
Poor quality kits show:
- Thin, easily torn papers
- Clashing colors and patterns with no cohesion
- Poorly printed images (blurry, pixelated)
- Cheap embellishments that look dollar-store quality
- Random assortment with no clear theme
- Strong chemical smells (especially concerning for papers)
Building Your Kit: DIY Additions and Upgrades
Even the perfect starter kit benefits from a few strategic additions. Here’s how to supplement smartly:
The 5 Most Useful Add-Ons:
1. Extra washi tape in coordinating patterns. You’ll use this constantly. A junk journal washi kit with 10-15 rolls covers most needs.
2. A quality glue stick. The cheap ones dry out or don’t stick properly. Invest in the Tombow or UHU brand.
3. Vintage book pages. Free at thrift stores or purchase affordable packs online. Adds authentic texture.
4. Coffee or tea for aging papers. Costs pennies, creates gorgeous effects. YouTube has excellent tutorials.
5. A bone folder. Under $5, it makes your journal look infinitely more professional with clean creases.
Where to Find Free or Cheap Additions:
- Thrift stores: Old books, maps, sheet music, vintage postcards
- Your own home: Junk mail, receipts, ticket stubs, packaging
- Library book sales: Damaged books sold for 25-50 cents
- Free printables online: Countless creators offer free downloadable ephemera
- Nature: Pressed flowers, leaves, feathers (dried and preserved)
Common Beginner Mistakes (And How to Avoid Them)
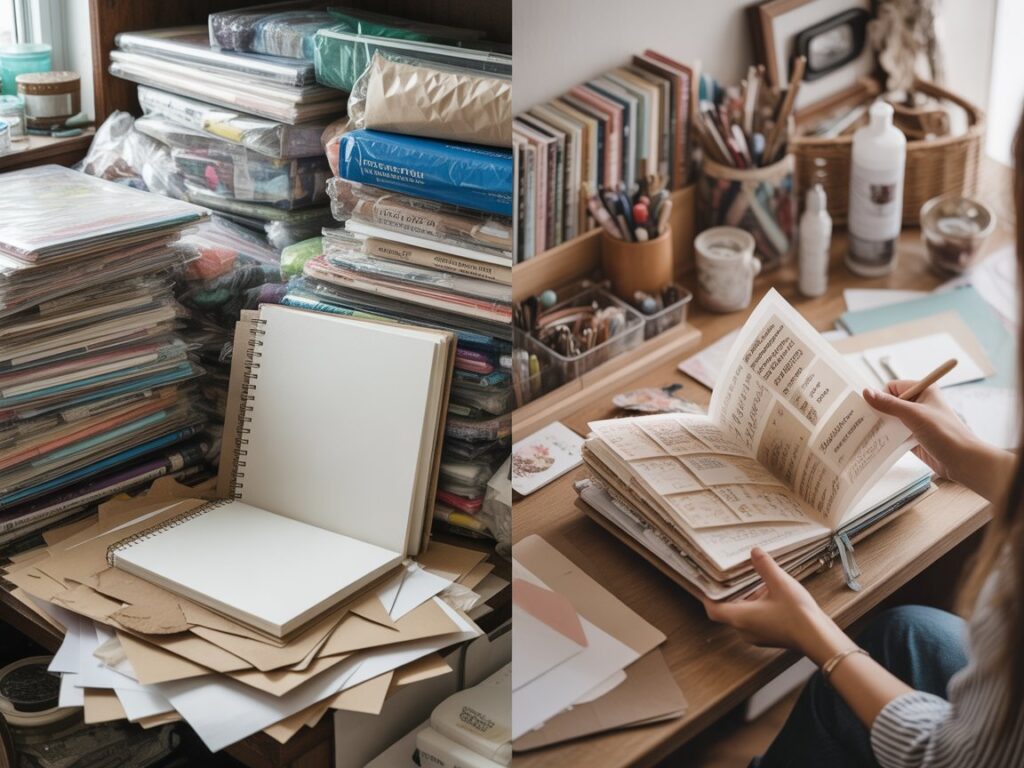
I’ve made these mistakes, so you don’t have to. Learn from my craft room disasters:
Mistake #1: Buying Everything at Once
The problem: You drop $200 before knowing your style or what you’ll actually use.
The fix: Start with one quality mid-range kit. Use everything in it before expanding your collection.
Mistake #2: Hoarding Supplies Without Creating
The problem: Your “someday” stash grows while your actual journal stays empty. Supplies become overwhelming instead of inspiring.
The fix: Institute a “use before buying” rule. Finish or nearly finish one kit before purchasing another.
Mistake #3: Ignoring Paper Weight and Quality
The problem: Cheap, thin papers tear, show through, or don’t hold up to glue and layering.
The fix: If buying individual supplies, check paper weight. Minimum 65 lb for text paper, heavier for covers. Quality kits specify this.
Mistake #4: Perfectionism Paralysis
The problem: Everything must be “just right,” so you never actually start creating. Your beautiful supplies sit unused.
The fix: Embrace the “junk” in junk journaling. It’s supposed to be imperfect, layered, messy, and personal. Your first page won’t be perfect—and that’s the point.
Mistake #5: Buying Themed Kits You Don’t Actually Like
The problem: That botanical kit looked pretty, but you’re actually into dark academia. Now you have supplies you’ll never use.
The fix: Be honest about your aesthetic. Don’t buy what’s trendy; buy what genuinely excites you.
Mistake #6: Skipping the Learning Phase
The problem: Jumping into complex techniques before mastering basics leads to frustration and abandoned projects.
The fix: Start simple. Master layering and basic composition before attempting intricate mixed media techniques.
Your First Week: A Beginner’s Action Plan
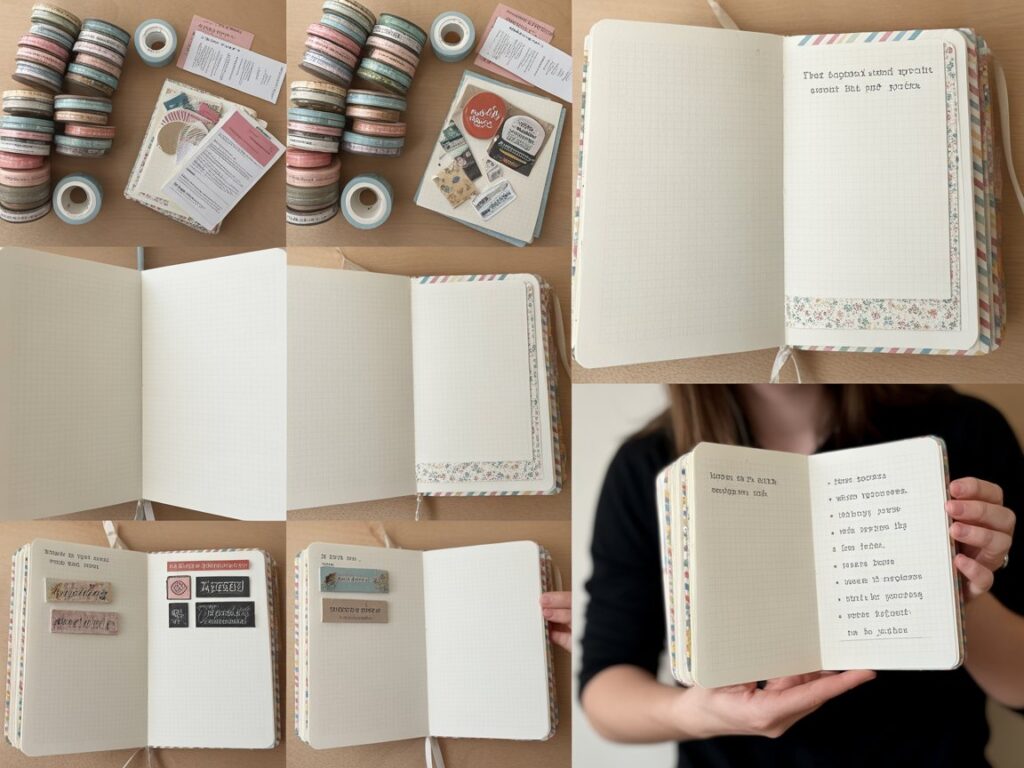
You’ve got your kit. Now what? Here’s your week-by-week roadmap:
Days 1-2: Explore and Organize
- Open everything and spread it out
- Sort by type (papers, ephemera, embellishments)
- Organize by color if that helps you
- Just touch things, look at them, imagine possibilities
- Watch 2-3 beginner YouTube tutorials while you sort
Days 3-4: Simple Practice Pages
- Create 2-3 basic layered pages
- Focus on: base paper, one patterned paper, one ephemera piece
- Practice with adhesive—what works best?
- Don’t aim for perfection; aim for completion
Days 5-6: Add Embellishments
- Revisit yesterday’s pages
- Add washi tape borders
- Include a sticker or two
- Try a small embellishment like a button or charm
- Experiment with placement
Day 7: Assess and Plan
- Review what you’ve created
- What techniques did you enjoy?
- What supplies did you use most?
- What’s still untouched?
- Plan your next purchase (if needed) based on what you actually used
Frequently Asked Questions: Your Junk Journaling Queries Answered
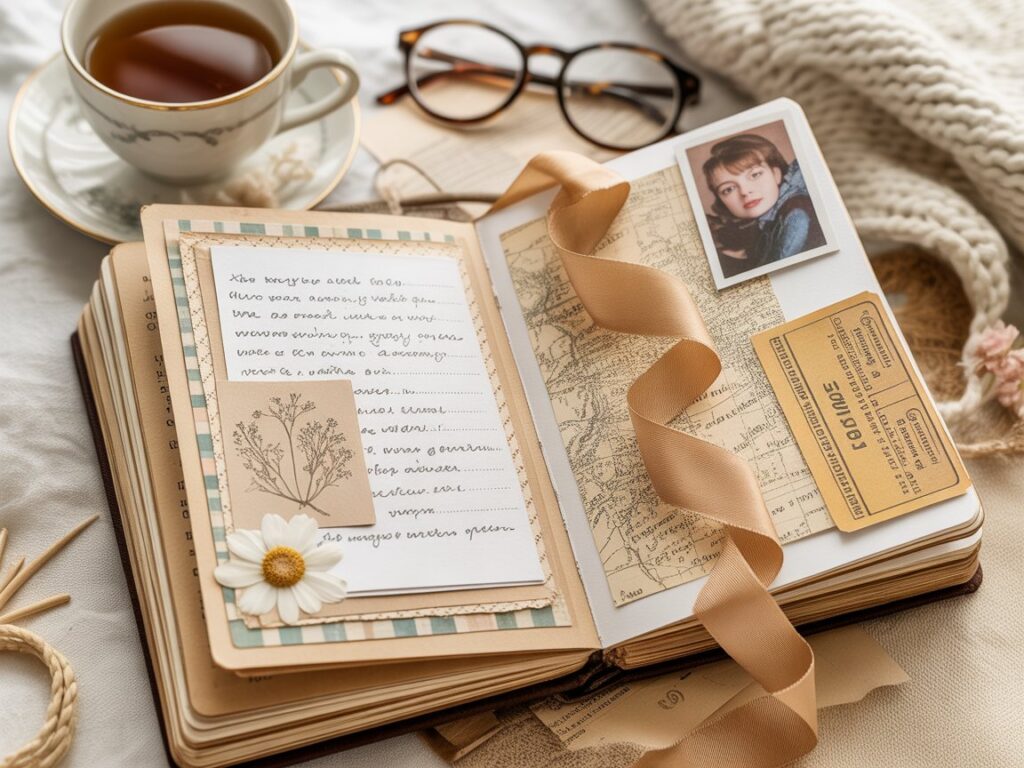
What exactly goes into a junk journal?
Anything that inspires you or holds meaning. Common items include: vintage papers, ephemera (tickets, postcards, labels), photos, magazine clippings, fabric scraps, lace, ribbon, washi tape, stickers, stamps, dried flowers, handwritten notes, receipts, maps, and book pages. The “junk” refers to everyday items transformed into art—it’s beautifully democratic craft.
Do I need expensive supplies to start junk journaling?
Absolutely not. While premium junk journal supplies exist, beginners can start with inexpensive kits ($20-40), free materials from home, and thrift store finds. A basic starter kit, glue stick, and scissors are sufficient. Many successful junk journalers incorporate junk mail, old book pages, and free printables. Your creativity matters more than your budget.
What’s the difference between scrapbooking and junk journaling?
Scrapbooking typically focuses on preserving specific memories with photos, follows structured layouts, and aims for polished results. Junk journaling is more freeform, artistic, and process-oriented. It embraces imperfection, layers materials freely, and often serves as art therapy or creative expression rather than strict memory-keeping. A scrapbook junk journal kit might bridge both worlds.
Can I make money selling junk journal kits?
Yes, if you’re strategic. Successful sellers on Etsy and at craft fairs offer unique, curated kits with cohesive aesthetics. Consider junk journal kit wholesale purchasing to improve margins. However, competition is significant, so you’ll need quality products, strong photography, and clear branding. Start by selling to local craft groups before investing heavily.
How long does a typical junk journal kit last?
This depends entirely on how frequently you create and how heavily you layer. A comprehensive 150-piece kit might last a dedicated daily journaler 2-4 weeks, while a casual weekend crafter could stretch it for 2-3 months. Heavier layering uses supplies faster. Most people supplement kits with found materials to extend their value.
Are digital printable kits worth it?
For budget-conscious crafters with good printers, absolutely. Printable junk journal kits cost $5-20 versus $30-60+ for physical kits, and you can print unlimited copies. However, factor in printer ink, paper costs, and cutting time. They’re ideal for testing styles before committing to physical purchases or for crafters who enjoy customization.
What’s ephemera, and why is it important?
Ephemera refers to printed materials designed to be temporary—think ticket stubs, postcards, vintage labels, receipts, or advertisements. In junk journaling, ephemera adds authenticity, visual interest, and nostalgic charm. A quality junk journal ephemera kit or junk journal ephemera pack includes reproduction vintage materials that look authentic without the fragility or cost of genuine antiques.
Should I buy a themed kit or a general variety kit?
For your first kit, I recommend variety over theme. You’ll discover your aesthetic preferences through experimentation. Once you know whether you love vintage, travel, botanical, or dark academia styles, invest in junk journal theme kits that match your vision. Theme kits are better as second or third purchases.
The Final Word: Trust Your Creative Instincts
Here’s what nobody tells you about choosing your first junk journal kit: there’s no wrong choice.
Seriously. The “perfect” kit is whichever one excites you enough to actually open it and create something. I’ve seen people make breathtaking journals from $15 basic kits and seen $100 premium kits sit unopened because they were too precious to “ruin.”
The secret isn’t finding the objectively best kit—it’s finding the one that speaks to you, feels manageable for your skill level, and fits your budget without guilt. Whether that’s a simple junk journal starter kit from Amazon, a curated vintage collection from Etsy, or a budget-friendly printable junk journal kit you spend a weekend cutting out, your choice is valid.
Start where you are. Use what you have. Create what calls to you.
The junk journaling community is remarkably welcoming, judgment-free, and encouraging. We’ve all been beginners. We’ve all glued our fingers together, torn precious ephemera, and created pages we later cringe at. That’s not failure—that’s learning.
Your perfect junk journal kit is the one that ends up filled with your thoughts, memories, and creativity—not the one sitting pristine on your shelf.
So pick something that excites you, gives yourself permission to be imperfect, and start creating. Your creative journey begins the moment you stop researching and start making.
Welcome to the wonderfully messy, endlessly creative world of junk journaling. We’re glad you’re here.
Ready to Start Your Junk Journaling Journey?
Now that you’re armed with knowledge, it’s time to take action. Browse junk journal kits on Etsy or Amazon, read reviews from real users, and choose something that genuinely excites you—not what you think you should like.
Set a budget, trust your instincts, and remember: the best time to start was yesterday. The second-best time is right now.
Drop a comment below sharing which style calls to you—vintage, travel, botanical, or something else? What’s holding you back from starting? Let’s build this creative community together.
Happy journaling, and may your pages always be perfectly imperfect.